Long, slim and trim!

26 Aug

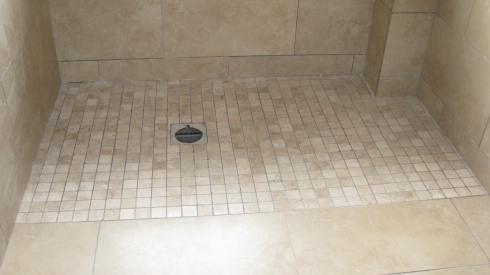
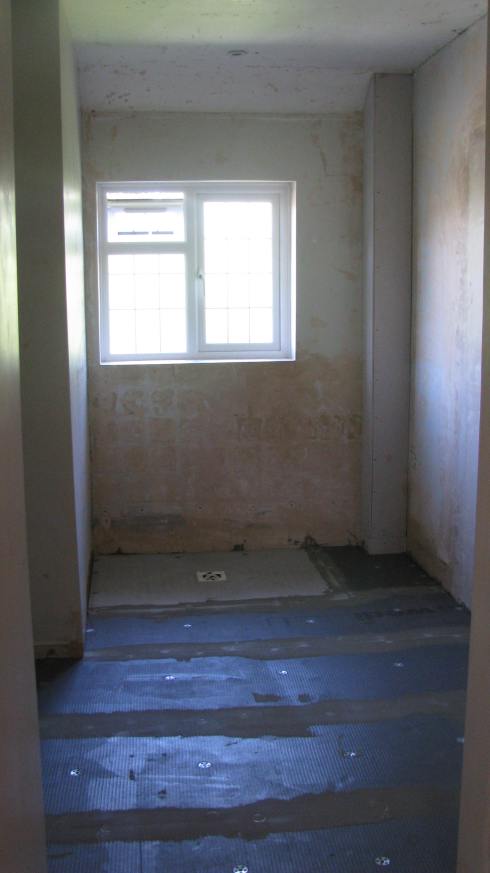
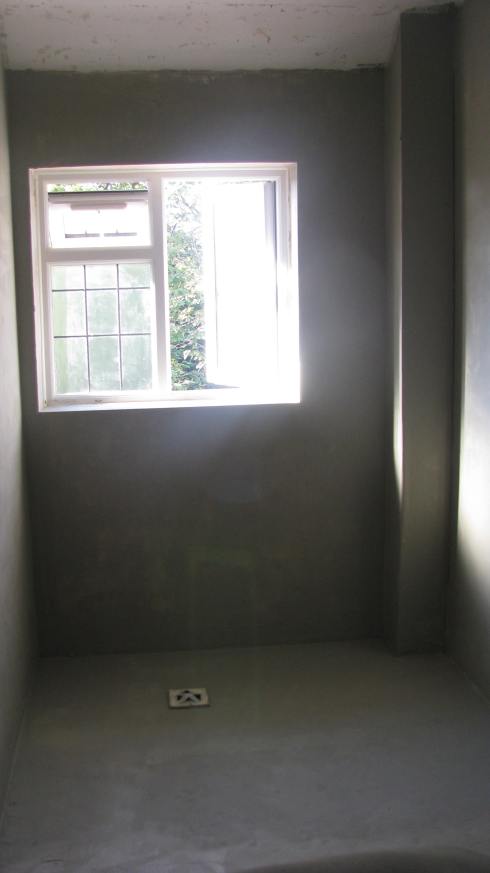
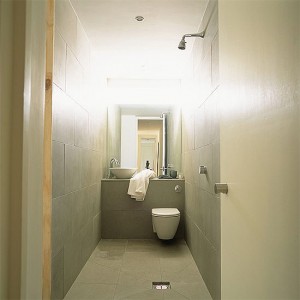
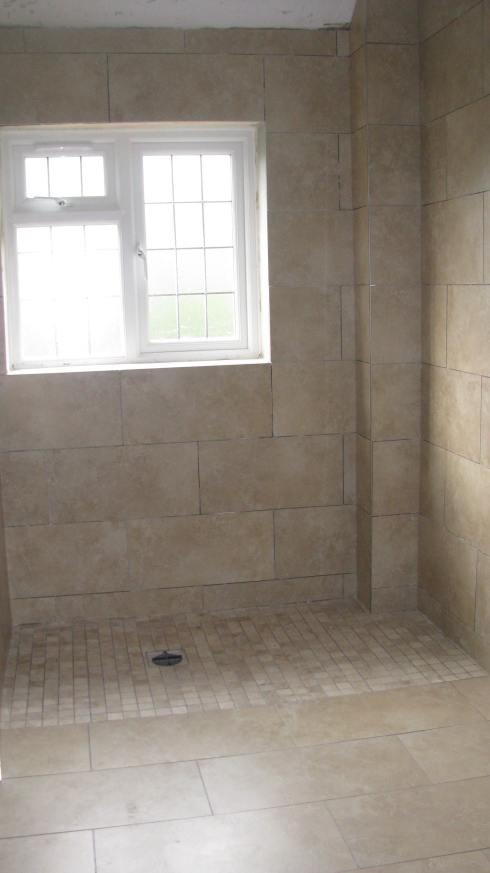
What a week! On a positive note, the (unfinished) ensuite bathroom now looks like this…………………


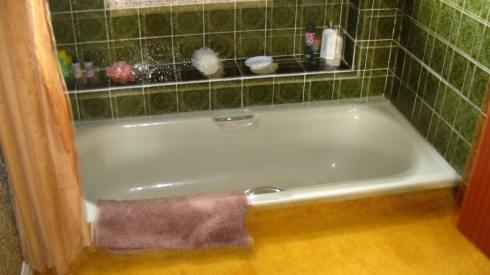
There’s still a way to go, but when you think how it started out (I know I’ve showed these photos before but I just find the difference between the two shots mind blowing!)………….


But as amazing as this progress is, it has been a rollercoaster ride to get to this stage. First the tiler and I disagreed over what area of the shower should be covered in mosaic tiles – I wanted the whole thing done, he wanted them to stop a foot shy of the wall on the right. I won, but the victory was bittersweet as we didn’t have enough mosaic tiles and had to wait twenty four hours for a delivery of an additional batch. This meant  Mr Tiler couldn’t move on and start tiling the wall he wanted to once the floors were done, so he wasn’t happy with me. Apparently he plans out the order of a job in advance and HE DOES NOT like to deviate from that. But in the end it was worth enduring his wrath I think……….


Anyway, the mosaic incident was quickly overshadowed when Mr Tiler found he had ‘spontaneously chipped’ not one but two tiles AFTER they had been glued down AND grouted. He had to shimmy them up again, not an easy job when you consider all the tiles around them had also been stuck down and grouted.

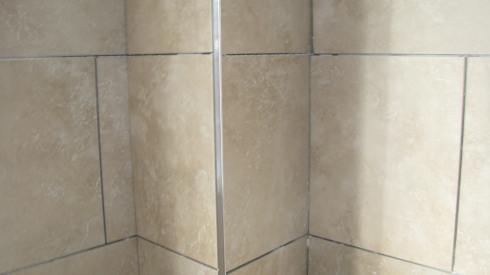
Then there followed a ‘trim’ (you know the stuff that you put round the edges of tiled walls) disaster! As a result of two and a half hours driving round three different tile shops (including four visits and two phone calls to one) I now know more about tile trim than I ever thought it was possible to know. For instance did you know that trim not only comes in different widths, but also different lengths and it seems qualities.

After deciding late on Monday evening, under the advice of Mr Tiler, that we could do better than the Wickes own brand beige trim that IB had bought, I set out on Tuesday morning to buy some Homelux tile trim, thicker and curved with a smooth satin finish, it was a more substantial and superior tile trim. Unfortunately, only one of the local tile shops stocked it but only in white. Taking pity on me, the nice man in Reed and Harris introduced me to silver trim, an EVEN MORE SUPERIOR tile trim (who knew!) but it was pricey and a quick call to IB resulted in a trip to Wickes where I got a version (not quite as good) that was £5 cheaper. Ten sticks (I’m not sure if this is the official term!) of trim later I arrived home only to be told by a now once more irate Mr. Tiler (who was refusing to move on with tiling the next wall  wall until he had the trimmed up the first one!)  that the new trim was shorter (by half a meter) than the original beige one. So after a quick call to Reed and Harris to determine how long their trim was, it was back in the car again. A half hour later I was proudly brandishing the new longer length trim in front of Mr Tiler’s nose only to be told that I’d been sold 9mm trim that had been labelled as 10mm trim and so I needed to take it back and get the next size up (12mm in case you’re interested)…………. Anyway, it was all worth it in the end because  now we have the Louboutins of the trim world on our as yet ungrouted bathroom walls, and because Reed and Harris sell at trade prices we’re still in budget – Hurrah!


12mm wide, 2.5m long, silver trim in situ!
The rise of the sunken bath!

20 Aug

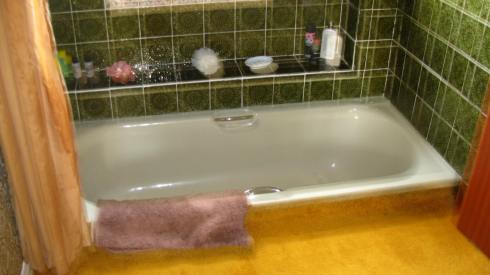
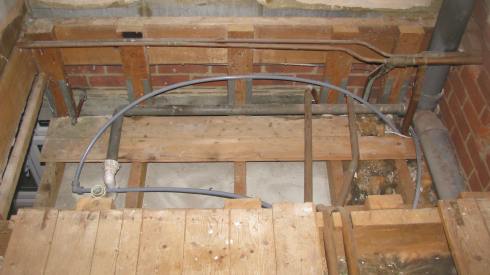
Well it’s finally gone. Not just the sunken bath but ALL evidence that it ever existed has been completely and utterly obliterated by hunky plumber man. Walking into the ensuite now instead of a gaping hole with spectular views into the garage below, we’re greeted by a flat solid floor that’s primed and ready for Mr Tiler who arrives on Monday (not last Monday as previously reported, I got a bit carried away in my excitement!). So here we are, one sunkenless bath bathroom floor !


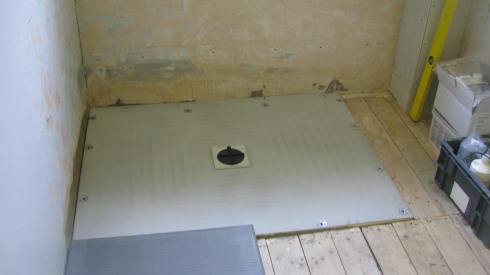
IB has spent the weekend ‘tanking’ the ensuite – i.e. making it waterproof so that it can stand up to its new role as a wet room. This involved pasting a special waterproof gloop onto the walls and floors and glueing a waterproof ‘bandage’ into the corners of the shower area. I was so proud of myself on Friday evening when hunky plumber man called me up to the ensuite to explain what needed to be done over the weekend in order to ensure the room was ready for the tiler’s arrival. I concentrated very hard, asked lots of relevant questions and by the end of the conversation was fully briefed on the art of tanking. Of course my enthusiasm stopped short of actually wanting to the job myself!


Tanked up and ready to tile………..

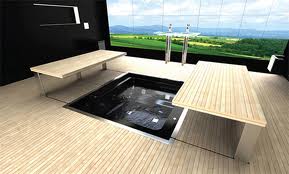
Over the weekend, (as I supported IB through the tanking process) I started wondering if there are still people out there embracing the sunken bath. It occurred to me that while our avocado sunken bath was for us a 1970’s relic too far, there may be more appealing modern day alternatives.  A quick mooch around the internet shows this to be the case, although  none of them will tempt me back. I for one am much happier in the knowledge that I am no longer effectively having a bath in the garage ceiling!


From boarshurst.co.uk

From boarshurst.co.uk

From impactlab (the wooden planks can cover the bath over when its not in use so that would be ALWAYS for me!)

From bolligdrom

Let her eat cake!

12 Aug

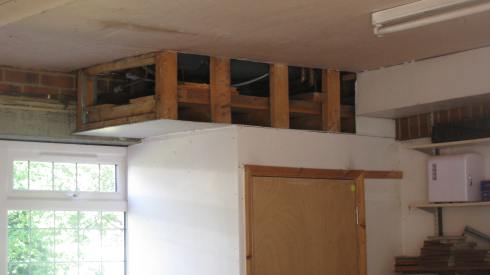
It’s quite frustrating knowing that you’re not making much progress on your home renovations, particularly when you’re pumped and ready to go! We’ve done everything we can since coming back from holiday to prepare for the kitchen build and the  bathroom refit, but we’ve had to twiddle our DIY thumbs until the ‘professionals’ come in and do their bit! Anyway, a huge HURRAH because hunky plumber man started work on the ensuite on Thursday! Actually he arrived with a plus one, as there was no way he was going to be able to remove the sunken bath without some help (I would happily have lent a hand if only he’d asked!). So now, the bath is gone, the toilet and sink have been removed and the boarded up door has been plastered over, all ready for the tiler to start next week.

Remember this………..


And the view from underneath (i.e. in the garage)….


Well instead we have this………………


OK so its a work in progress!


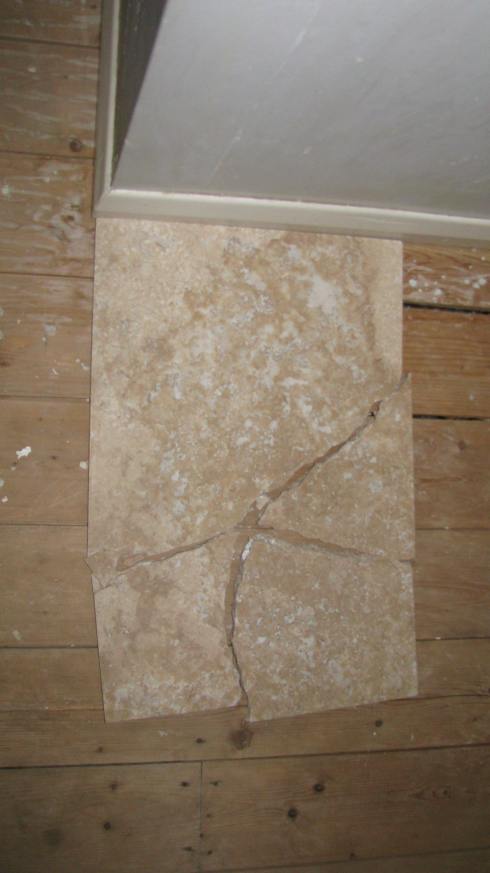
We had a slight tile crisis on Monday as it turned out the Travertine tiles that we’d set our hearts on need sealing after they’re laid, plus resealing every couple of years after that. This all sounded like too much hard work – they were high maintenance tiles and high maintenance anything is to be avoided! On top of that, when the tiler came out to measure up the room and check out the sample tile, it literally crumbled into pieces in his hand!


Oh and this is what I’ve been getting up to when I’m not DIYing! Made from scratch – even the almond and lemon pastry! I’ve got to have an outlet for all this  pent up DIY energy…………


Old vs New

4 Aug

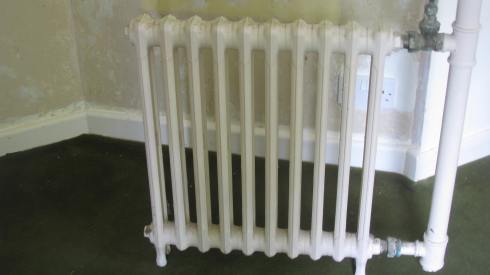
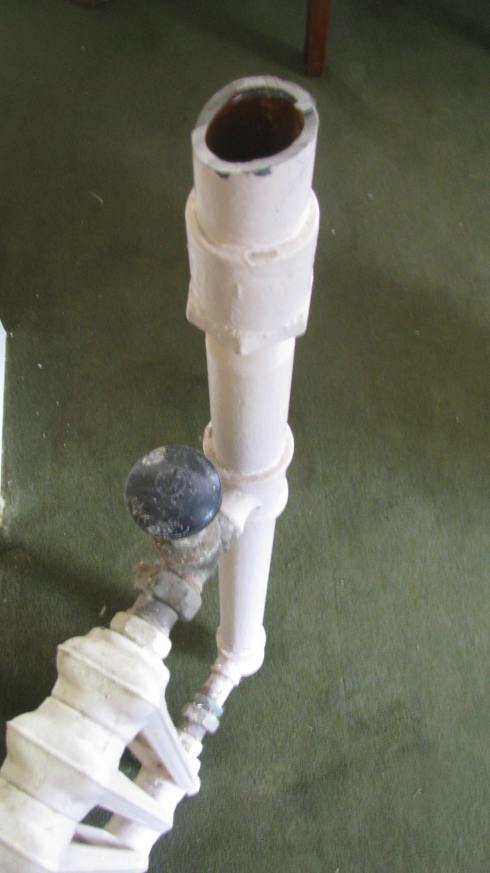
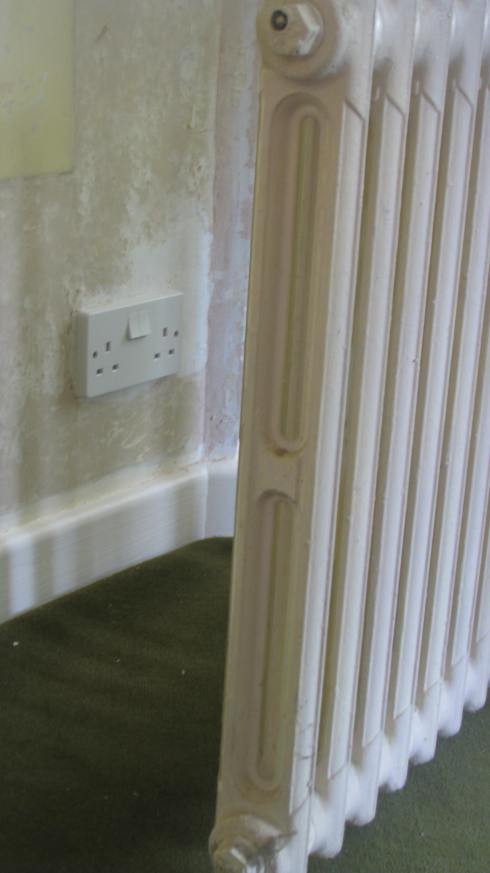
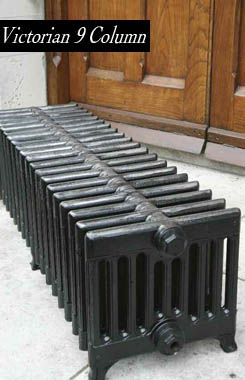
IB hadn’t even unpacked after our holiday before he was rummaging in the cupboard for his toolbelt and foraging in the garage for his power tools. There wasn’t any particular DIY emergency just a very big, clunky 1950’s radiator that needed to be evicted from our spare room.  Taking it out is not as easy as it might seem given its cast iron! Still it gave IB an opportunity to use some of his more manly DIY tools and after an hour or two of sweating, swearing and sawing, out it came!


So I have yet another item for ebay.  IB’s starting to get concerned about the size of the ebay pile now and I think I might be in trouble if I don’t start listing stuff soon

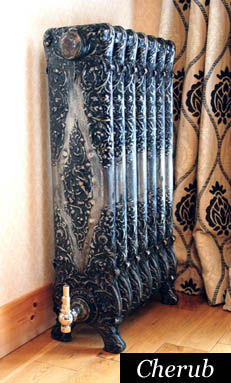
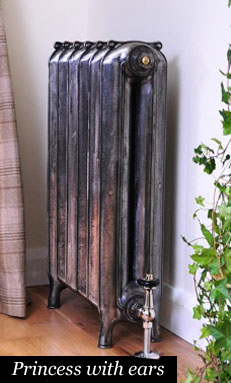
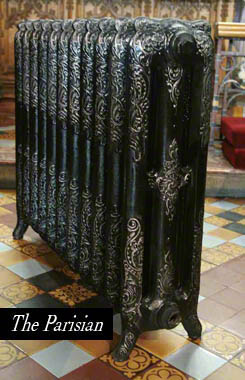
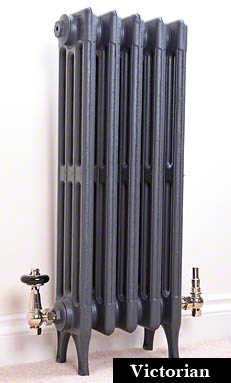
Anyway as part of my research on the value of cast iron radiators, I found this website – castironradiators.biz.  Some of these radiators are fab, not right for our house, but still fab!


The gardens in Spain grow mainly……..anywhere you like!

31 Jul

Sincere apologies that this has been a blog-free zone for the last week or so. But I’m delighted to say this was down to the fact that the DIY Dame was hanging out in Spain.  I meant to put one of these signs on my ‘blog door’ before I left (from yourstylefix.com)…………….


But I ran out of time on the day we left. Those precious hours before we drove to the airport on that cold rainy British summer’s day, disappeared in a cloud of chaotic last minute packing (clothes are fine, it’s always the sundry kids stuff – calpol, inhalers, snacks for the car, snacks for the plane, swim goggles, sick bag etc – that take most  time to pack!).

Anyway after ten days of glorious Spanish sunshine and many hours idled away reading by the pool or on the beach, IB and I now feel rested and ready for DIY action once more. In truth six months filled with the house move, renovations and juggling work/parenthood had taken their toll.  There was of course no escape from parenting in Spain (although kids on holiday are fun as opposed to kids that you’re trying to get out the door for school/make do their homework) but it was a delight to have a break from thinking about kitchen design, building plans, paint swatches, sunken baths  etc. Maybe more committed DIY/home improvement crusaders would think us lacking in commitment but hey so be it.

Of course it would be a lie to say I switched off completely from thoughts of decoration and design. I carried my camera with me whenever we went out but not just to take obligatory holiday shots. I was on a quest for inspiration for our home courtesy of the streets of Marbella and remote Spanish villages.

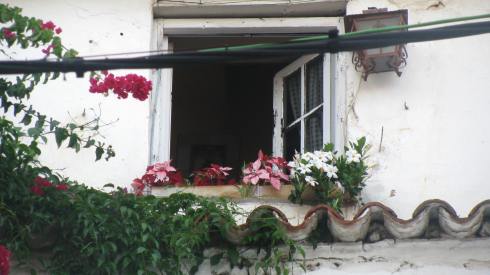
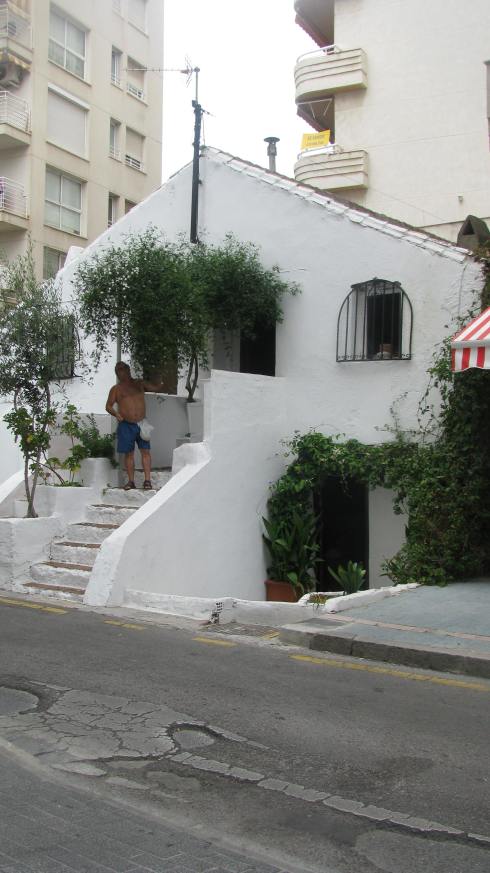
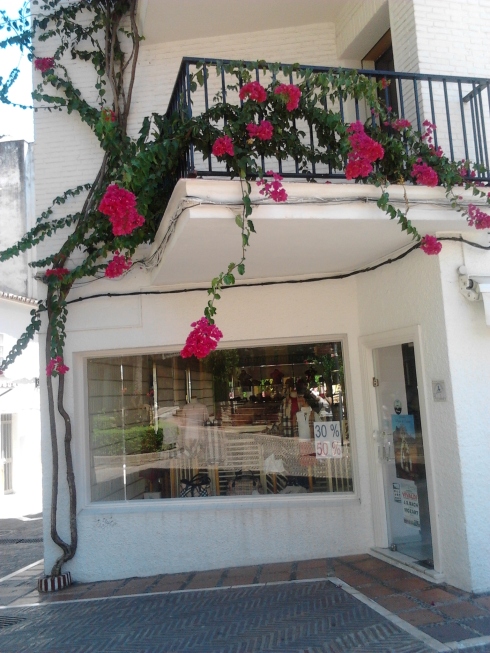
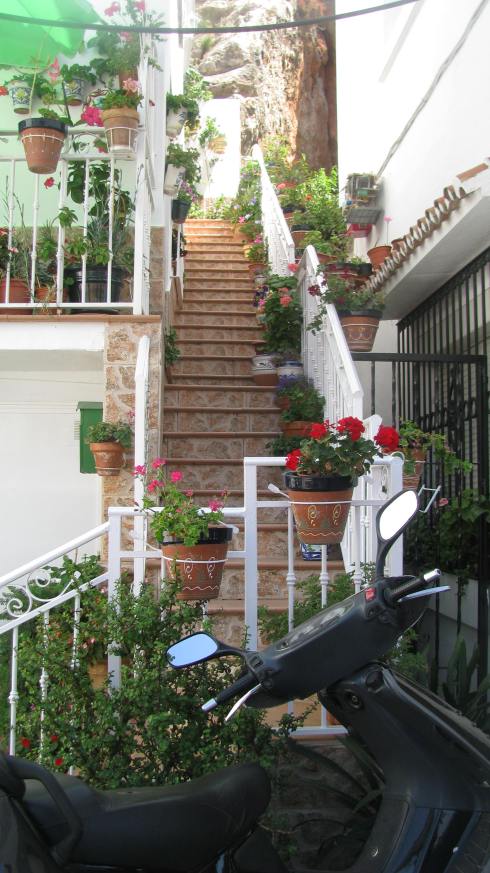
One of the key things that stood out for me as I clicked my way through our holiday was not what the Spanish are doing with the inside of their house but rather what’s happening on the outside. In towns big and small across Spain there is, unusually for such a green country, a lack of garden space for the individual home owner. But the Spanish are very creative in how they approach the challenge of creating gardens without having actual gardens!  This week I’ve seen balcony gardens, window gardens, foot high walls functioning as garden space and in the most creative (and colourful) case, steps converted into a front garden creating a beautiful flowering walkway for their owner! Now where did I put my spade………………..


diydecoratingdame


diydecoratingdame

All this from that tiny little hole bottom left!

diydecoratingdame

And my personal favourite!

Is that an aerial growing out of your head or are you just pleased to see me?

15 Jul

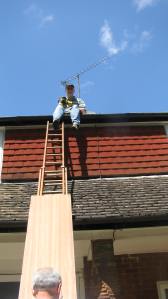
One of the things I’ve learned over the last few months since we moved into our ‘its- got-the- potential- to–be-something -special’ house is that sometimes you have to put as much effort into what’s happening behind the scenes as you do into the ‘front of house’ stuff.  With that in mind, over the last two weekends IB and DIY Dad have been hard at work clearing a ton of moss off the roof.


Large, greeny brown tufts of moss have embedded themselves between the tiles which will cause them to lift and crack if left untreated for much longer.  The problem is though that we’ve only been able to dislodge the larger lumps of moss and there are still lots of bits left between the tiles which according to the ‘moss on the roof’ website (I kid you not!) we may need to get a professional in to dislodge it with a ‘small hard bristle brush’. Thereafter we can treat the tiles with herbicide once a year or use the much more environmentally friendly and intriguingly simple ‘copper ridge’.


According to ‘moss on the roof’ this is a ‘proven scientific solution to prevent moss recurrence’ and it really does work. It involves fitting a copper ridge or wire along the highest part of the roof. When exposed to the sun it will oxidise and small amounts of copper sulphate (a natural moss killer) will be deposited. Every time it rains this will be washed down over the tiles and voilà, no more moss!! Who knew!

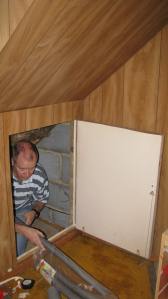
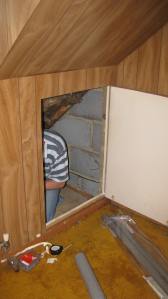
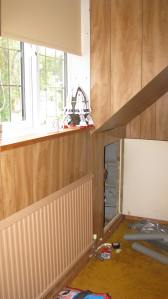
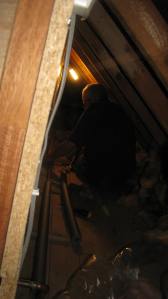
Meanwhile in the boys room, it’s all about insulation, insulation, insulation. The wall under the dormer windows in their room backs on to the old roof (visible just below IB’s legs in the top picture) and it lets in a mean draught. This we discovered, is because the ‘wall’ around the windows is not brick based but rather oddly is made from MDF. DIY dad and IB spent Friday and Saturday crawling in and out of the roof space behind the ‘wall’ hammering sheets of wood onto it to make it more substantial and draught proof.  That plus the extra insulation they’ve put in there should make things a little bit cosier in the boys room come winter time!


Going………..

Going…….

Gone!

Didn’t realise they were in there shearing sheep!

Viva La Espana!

11 Jul

I promised a little while ago that every now and then I would look to the international interior design stage for inspiration. On my last trip to Dublin, a nosey around some Irish design shops and websites showed me how much I was missing only focusing on UK sites/shops for inspiration. With a trip to Spain not too far away (oh yes the Dame is going to Spain!) and the promise of some sunshine (diy tools crossed!) I thought it might be timely to have a look and see what sort of design statements our Spanish cousins are making these days.

 Source – batamhousing

Source – interiorarcade

Source – coolhomedesign

Source – interiordesignityourself

Source – omahkunet

Source – houseinteriordesign


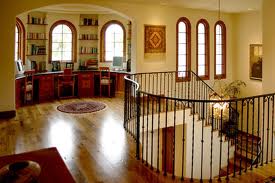
The upshot of all of this is that I think I might move to Spain. Seriously I LOVE that the Spanish seem to be all about autumn colours (maybe an antidote to their climate?!) and natural wood and textures. Although I’m not sure where I stand on the whole open landing/balcony above the living room idea. I don’t think I’d trust my boys not to hide out up there and lob things down on me while I sit relaxing in the living room. Also, surely privacy is an issue?! On the plus side though, I bet having an open landing gives a feeling of space and creates connection between the upstairs and downstairs of a house, which I know in this country people tend to think of as very separate areas with very distinctive functions.  Anyway before I loose myself in fantasies of ripping out half our upstairs walls and replacing them with wrought iron balustrades (an idea I am 100% sure IB would not support!), I’m off to find my passport and lock away the carbs as I’m not quite feeling ‘bikini ready’ as they say!

Size DOES matter!

8 Jul

You know how sometimes the same thing keeps happening to you over and over to the point where you either have to accept your fate or get really angry about it? It’s like your kids always throwing a tantrum when you go to one particular friend’s house to visit, or it always raining when you wear your favourite cream skirt (so that you get a lovely puddle splash effect up the back of it  just when you’re on your way to an important meeting) or  kitchen designers always completely misunderstanding you and sending you silly designs for your kitchen accompanied by an equally silly quote!

Seriously now, this is the THIRD time this has happened to me. I shared Mr. Magnet’s designs a couple of weeks ago which were totally impractical and before Christmas we had Mr. Wickes whose designs lacked any sort of creativity or imagination (yes like Goldilocks, I am hard to please, or maybe I’m looking for designs that are just right – depending on your point of view!).

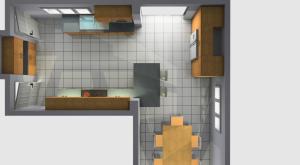
Anyway this time I thought I’d try a local bespoke kitchen service. They sell all manner of interesting kitchens, including Schmidt kitchens who do some really nice oak units cut on the grain giving a very natural and contemporary feel.  Now alarm bells should have gone off when Mr. Bespoke Service stood in the kitchen looking out through the back door into the utility room (which you may remember we are planning to integrate into the kitchen space) and announced (while nodding sagely) that when the building work was all done we would have a ‘huge kitchen, yes really huge’. Then he stood in the middle of the room for some minutes stroking his chin and mumbling ‘what are we going to do with this huge kitchen?’ Now I’m sure Victoria Beckham has a huge kitchen, but we definitely don’t and won’t even after the building work is finished. If we wanted a ‘huge’ kitchen we would have to extend out by about ten foot into the back garden!  After Mr. BS (!) had gone, I decided the whole ‘huge kitchen’ malarchy was some misguided sales technique to try and justify inflating his quote, you know make the customer think they have a big kitchen and then they’ll expect you to give them a big quote. Sure enough, when the quote popped into my inbox on Friday evening it was for £22,000! And when you look at the pictures below and see how many units that actually buys us, well need I say more about my ‘huge’ kitchen!!!


Watch out for the free floating microwave!

Just one problem, I told him this is where we’re putting our fridge! But what would I know, I’m not a kitchen design expert!

So that bit on the end is I’m guessing, the island that I told him I wanted!

To IKEA and back…………

4 Jul

Well in a Thelma and Louise moment yesterday (minus the convertible and head scarves, oh and the dramatic ending), I took a road trip with a girl friend of mine to …..……………….Wembley, well IKEA’s Wembley store to be more specific. Now I’ve never really been an IKEA fan. I shopped there only once before (the Bristol branch, circa 2000) and I remember at the time not really getting what all the fuss was about. For me it was like shopping in a giant cold, sterile warehouse. I was totally overwhelmed by the amount of choice and even more so by the fact that I needed a compass and route map to find my way around.

Now clearly either things have changed at IKEA since then (although I do think that were it not for my friend’s intimate knowledge of the layout of the Wembley branch, I might still be there now), or I was having an off day back in Bristol in 2000 for yesterday I became a total IKEA convert. For FOUR  hours (we did stop for lunch and then again for coffee and cake, IB scoffed at my ability to source cake even in a furniture shop) we wandered round and this time instead of feeling frustrated and overwhelmed, I felt nothing but excitement as I ticked off one item after another that had been on my home furnishings shopping list for months.

The boys are now more or less sorted for storage. I bought them a set of these each………………………


They’ve spent a happy hour this evening loading all their bits and pieces into the drawers. I also bought a couple of these for lego and the like, although my younger son clearly misunderstood me when I said they were for storing his toys ……………………..


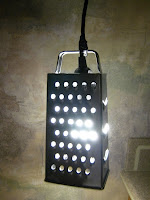
Although I am thinking of posting this picture on the IKEA hackers website, because I’m sure curling yourself up in an IKEA storage basket is a form of IKEA hackery! And for those who haven’t heard of IKEA hacking it’s got nothing to do with computers and everything to do with breaking ‘into the IKEA code of furniture assembly’ and repurposing it. On the website you are warned ‘some furniture may be destroyed in the process and you may, please be cautioned, compromise the structural integrity of the furniture and its safety standards, so hacking does have its risk’. I have a sneaking suspicion my son has done all of these things with his boy in a basket routine! In the meantime here are some other examples from the IKEA hackers website……….


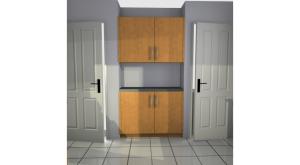
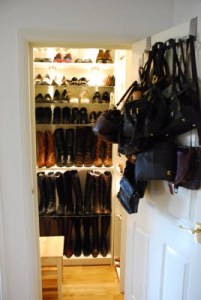
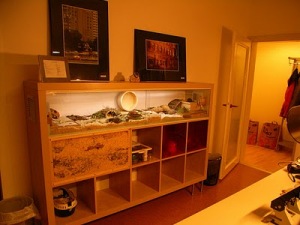
Carrie Bradshaw eat your heart out…….. this walk in shoe closet is made from bookshelves and a belt rack! And below, one of my favourites, IKEA Expedit furniture has been turned into a very luxurious hamster cage……………


Wet rooms and water tanks!

1 Jul

Apparently you should never start a presentation with an apology, it gets the audience off on the wrong foot, changes their perception of you (not for the better). I hope the same is not true for blogs because today I’m going to start with an apology for not posting since last Sunday!  It’s all down to the fact that I’ve just had the busiest week ever and I’m afraid it wasn’t doing DIY! In truth, I was busy with my day job which included a 5am start on Wednesday, (which incidentally took two days to recover from),  I had to finish a short story for a writing competition, spend two hours with another middle age, highly verbal kitchen designer and attend a school sports day! So there you have it, an apology and an explanation!

Meanwhile things on the house have been progressing steadily thanks to IB and DIY dad. This week the new blinds went up in the bathroom, which means that once the new door goes on, that is one room COMPLETELY done. Having said that, the new door won’t go on until the building work in the kitchen is done, as otherwise I’ll be cleaning dust out of the grooves for years to come.

We also put up a new blind in the hallway by the front door. This means that when I do my middle of the night run to the kitchen for water, medicine for the boys or toast and jam (for me not the boys, I had the alcohol induced munchies!), I no longer have to worry that would be burglars are hiding in the trees in the front garden tracking my movement through the house.

The other big thing that happened this week was that hunky plumber man came back (remember him? Six foot four of brooding hulk) to replace our very old, very small (50litre – tiny for a house this size apparently) circular water tank (terrible for joining water pipes IB informed me, the joins usually cause stress to the tank, which eventually crack, leading to a large waterfall pouring out your ceiling, a sight we had to witness twice!). We now have a solid 75litre, coffin shaped water tank! Hurrah! Although I hate spending money on stuff like this, because you can’t actually SEE any visible improvement to the house…………………

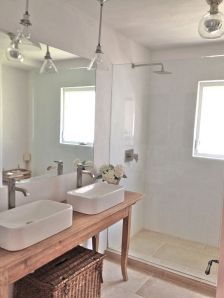
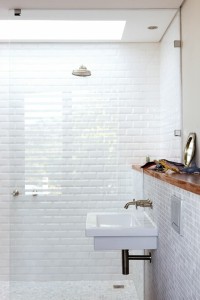
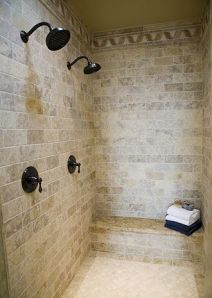
Anyway, while he was here, hunky plumber man gave us quote for doing the plumbing work to turn the ensuite bathroom into a wet room. It’s been stripped of wallpaper, carpets and tiles over the last few weeks and now it’s ready for its revamp. I’ve been getting quite excited looking at pictures of wetrooms this week, particularly those featured recently in my very good Croatian friend’s blog Coffee and Lola. The pictures come from shabbyblogs.com.